Writer’s Notebook.
The excitement is real…
In my forced downtime, I took the plunge… and no, I don’t mean falling off of my crutches. But, if I’m being honest, I’ve done that too. I absolutely hate these crutches, and I’m 100% certain that they hate me just as much.
Angel adjusted them for me a couple of times, so I’m doing much better on them though. What would I do without that girl sometimes?
Just a quick side note on the foot/ankle situation. OW! The pain is real! Tomorrow morning, I have to call my doctor and set up a follow-up appointment. Other than that, there’s nothing really new to report.
Enough about that though, lets move on to the fun stuff.
Before my swan dive down the stairs on Friday afternoon, I spent most of Thursday evening getting everything ready to start a new project that I was pretty excited about! I went through all my pens, paper, notebooks, markers, highlighters, etc. to try and find supplies to make my very own Writer’s Notebook! I also spent over three hours surfing around on Pinterest, Tumblr, Instagram, and Google looking for inspiration and ideas on how I was going to pull this off and make this Writer’s Notebook thing work for me.
What I came up with was something equal parts exciting and terrifying.
What is a Writer’s Notebook?
If you’ve read any books on writing, you’ve probably heard of the elusive writer’s notebook, and that you should probably be keeping one. (Not helpful, am I right?)
A writer’s notebook, from my understanding, is a place to put notes, quotes, ideas, inspirations, if you’re like me… doodles. But mostly, a place to help you get closer to your writing and your characters. I also plan to use this as a way to keep track of family trees, worldbuilding stuff, etc.
So… let me show you how I did it.
Supplies:
- Notebook!
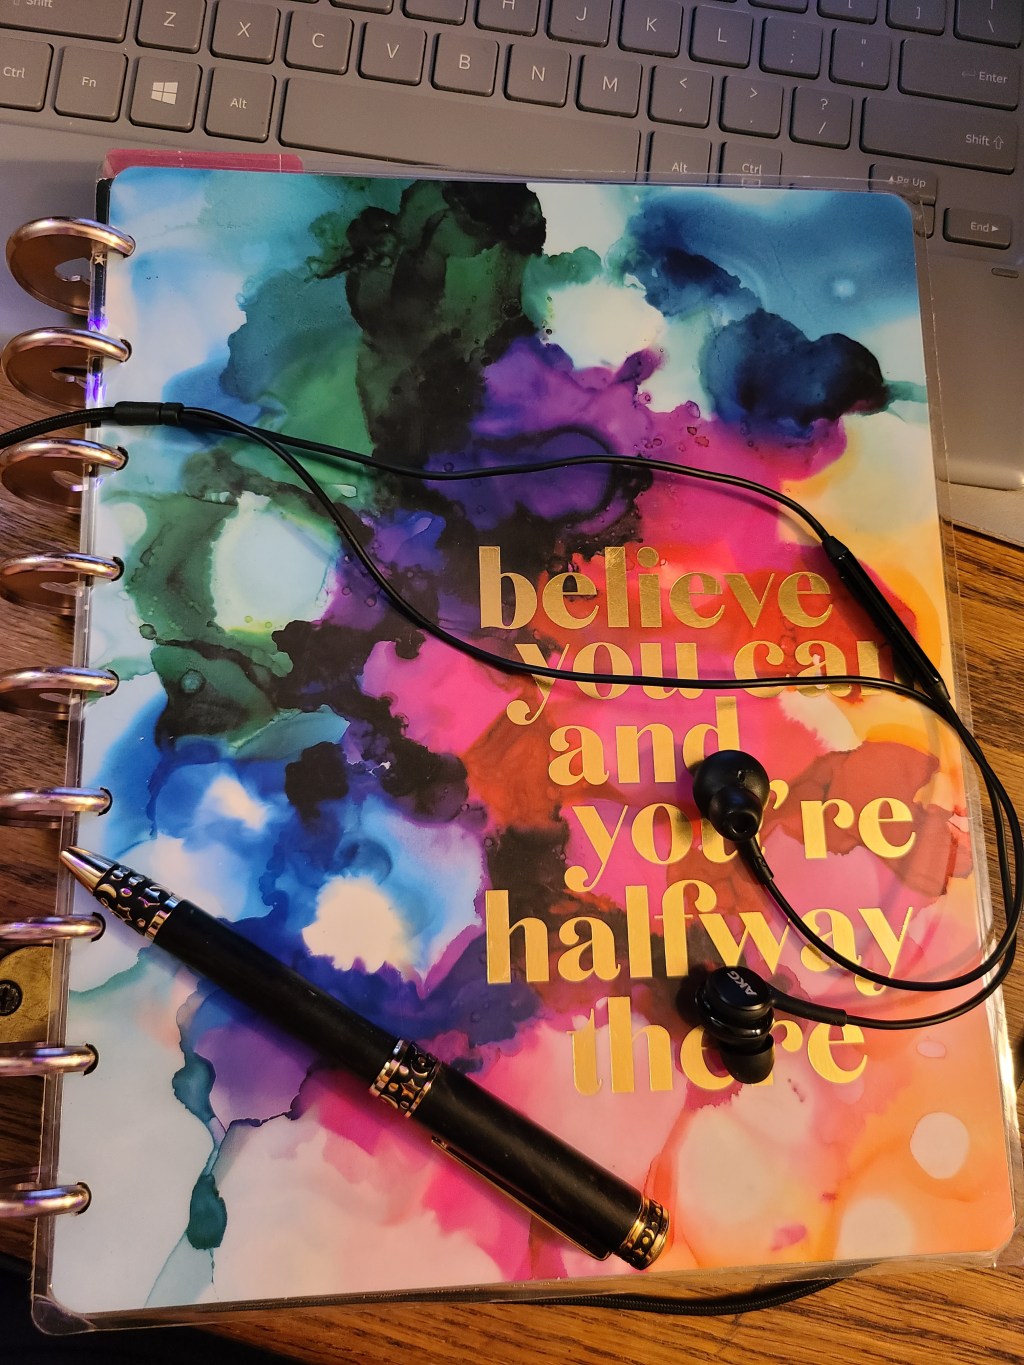
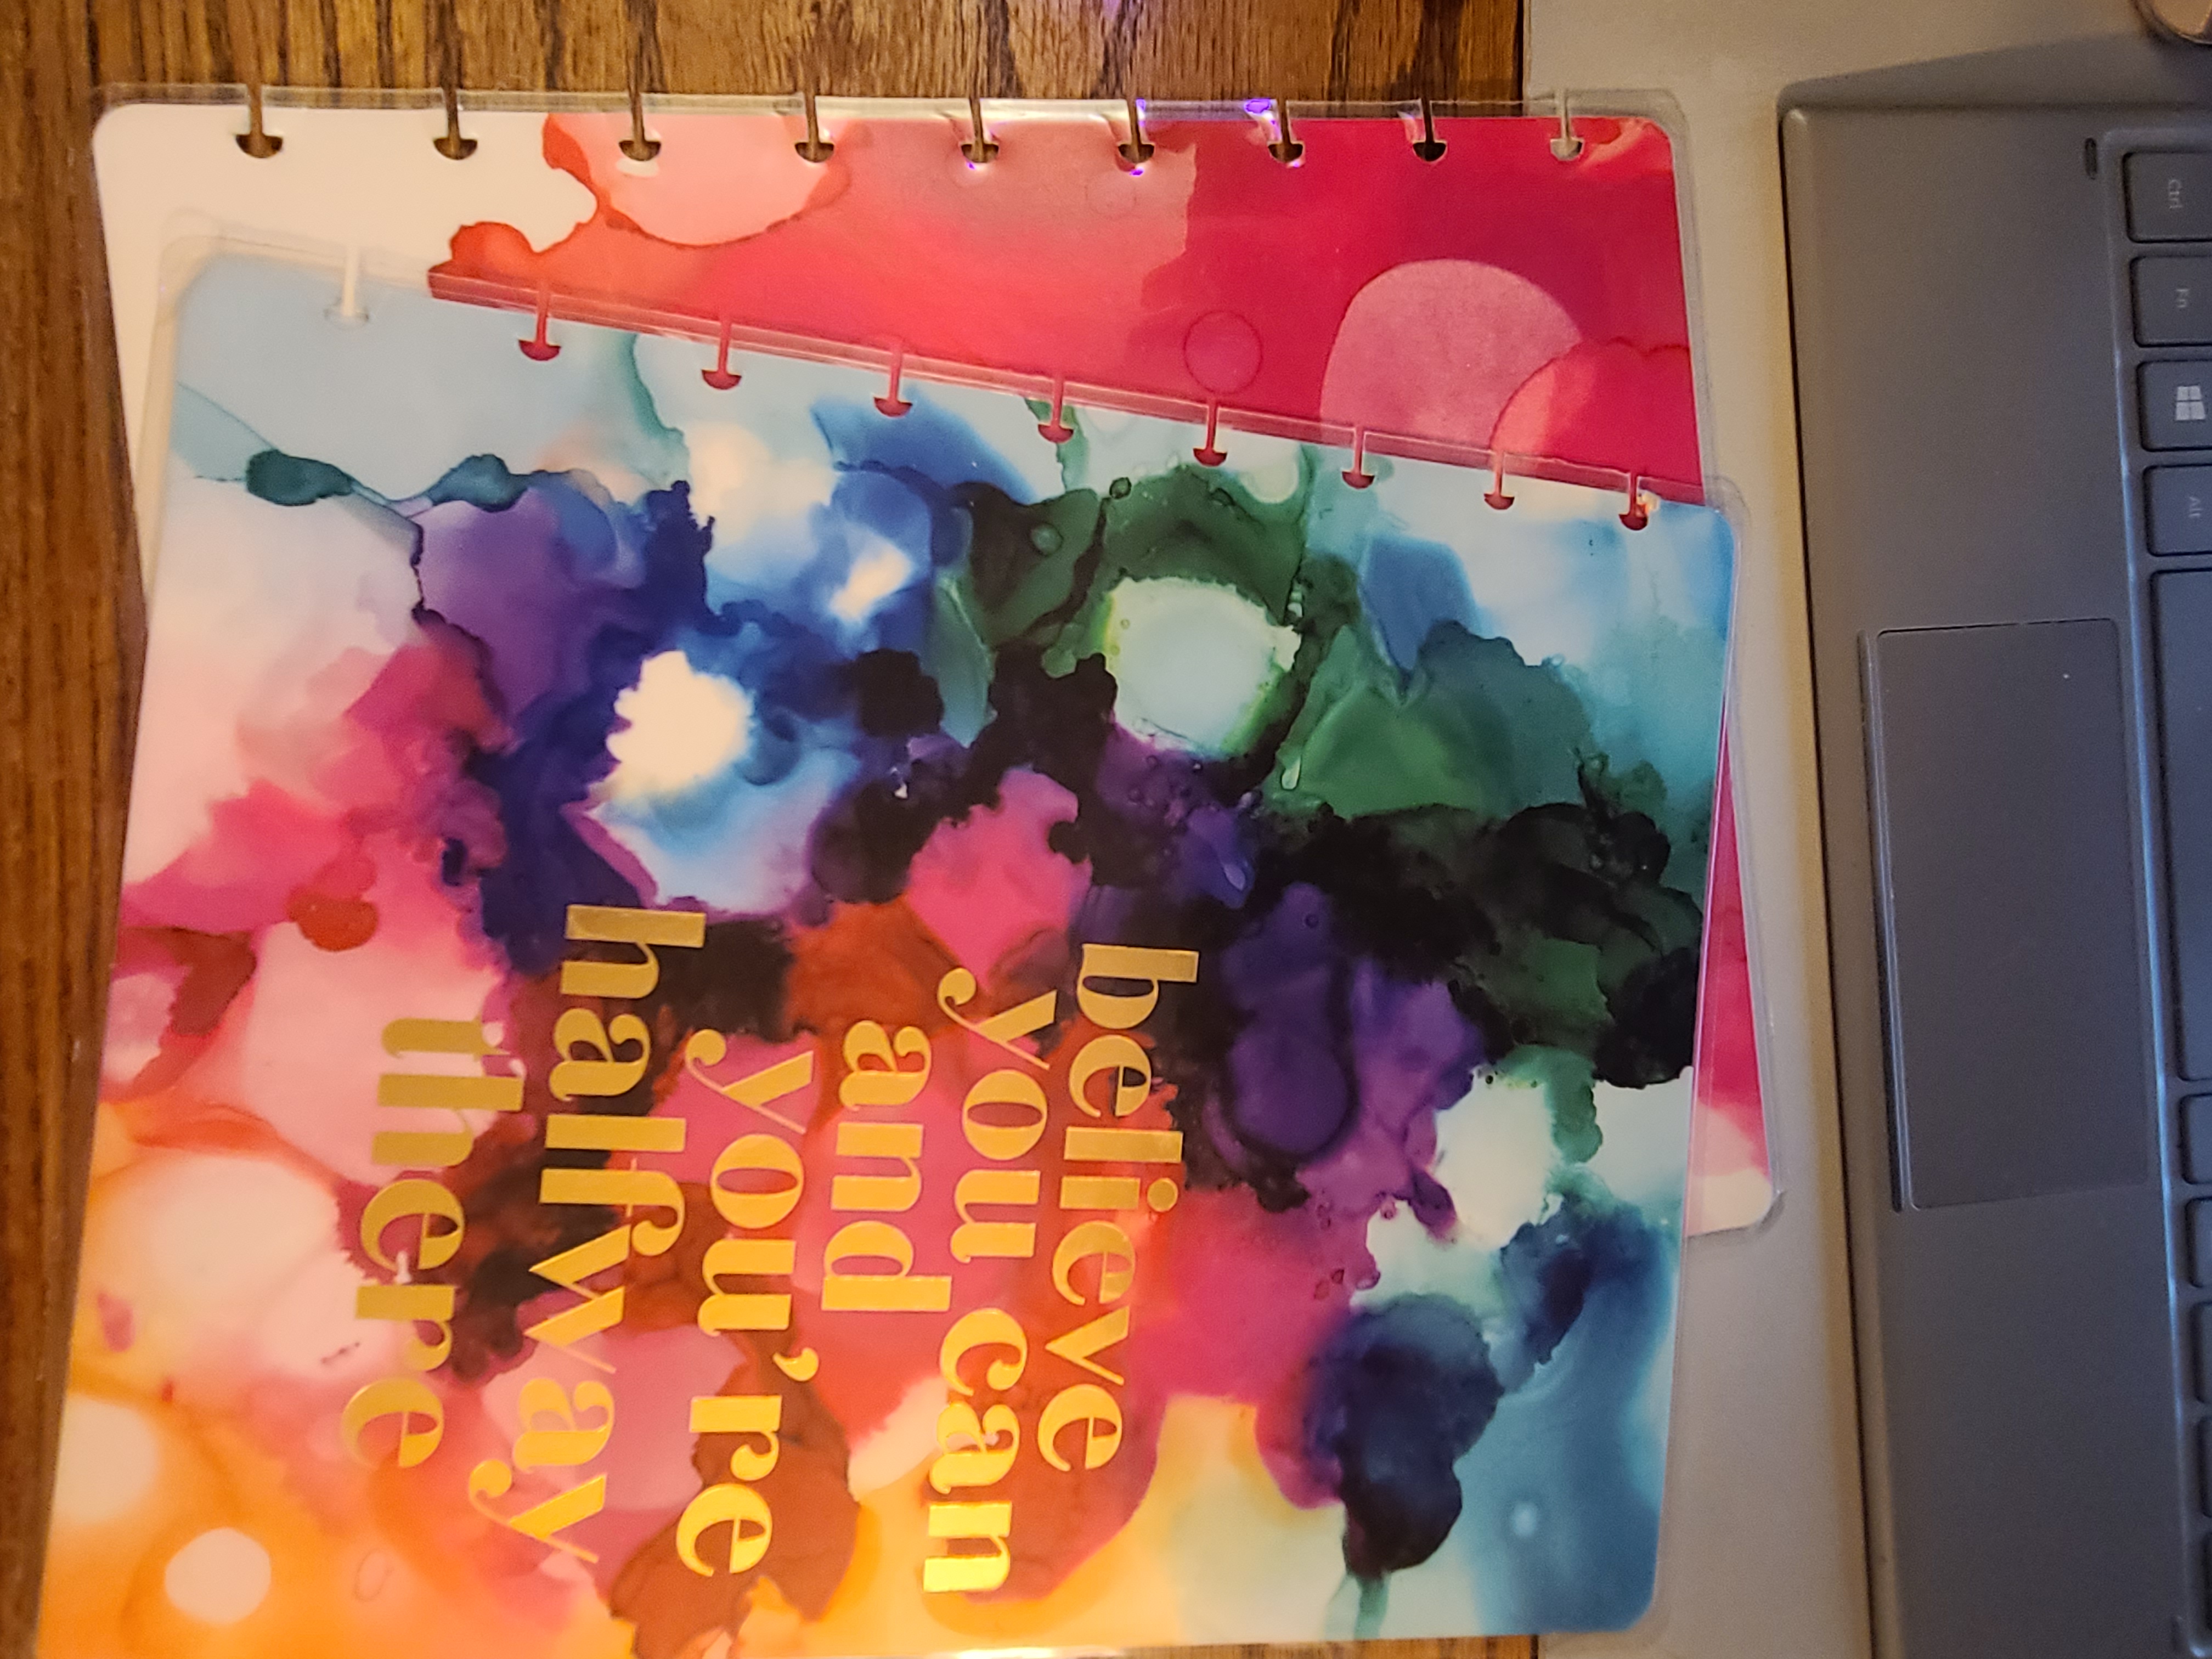
Now, I think this one is a given, it is called a Writer’s Notebook after all. Personally, I’m using some different colored filler paper from their Happy Notes line, a cover, a bookmark, and rose gold rings from MAMBI Happy Planner.
I also have some dividers from Happy Planner, as well as a folder, and some really cute sticky notes from Happy Planner as well.
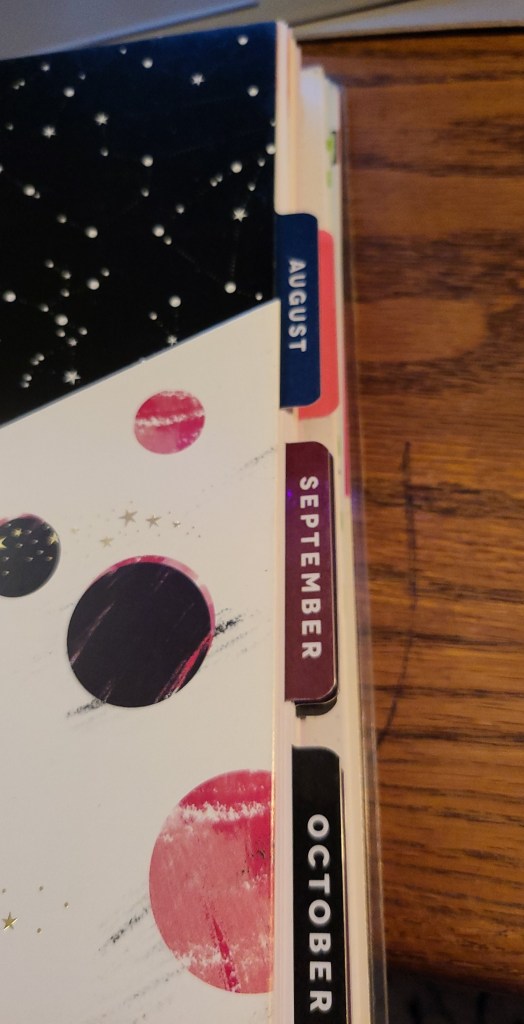
(Just a quick note on the MAMBI Happy Planner brand, I also use their planners! Since they’re from the same brand, I’ve inserted August-October’s months into my Writer’s Notebook so I can keep track of my writing, work hours, and other stuff!)
- Pens!
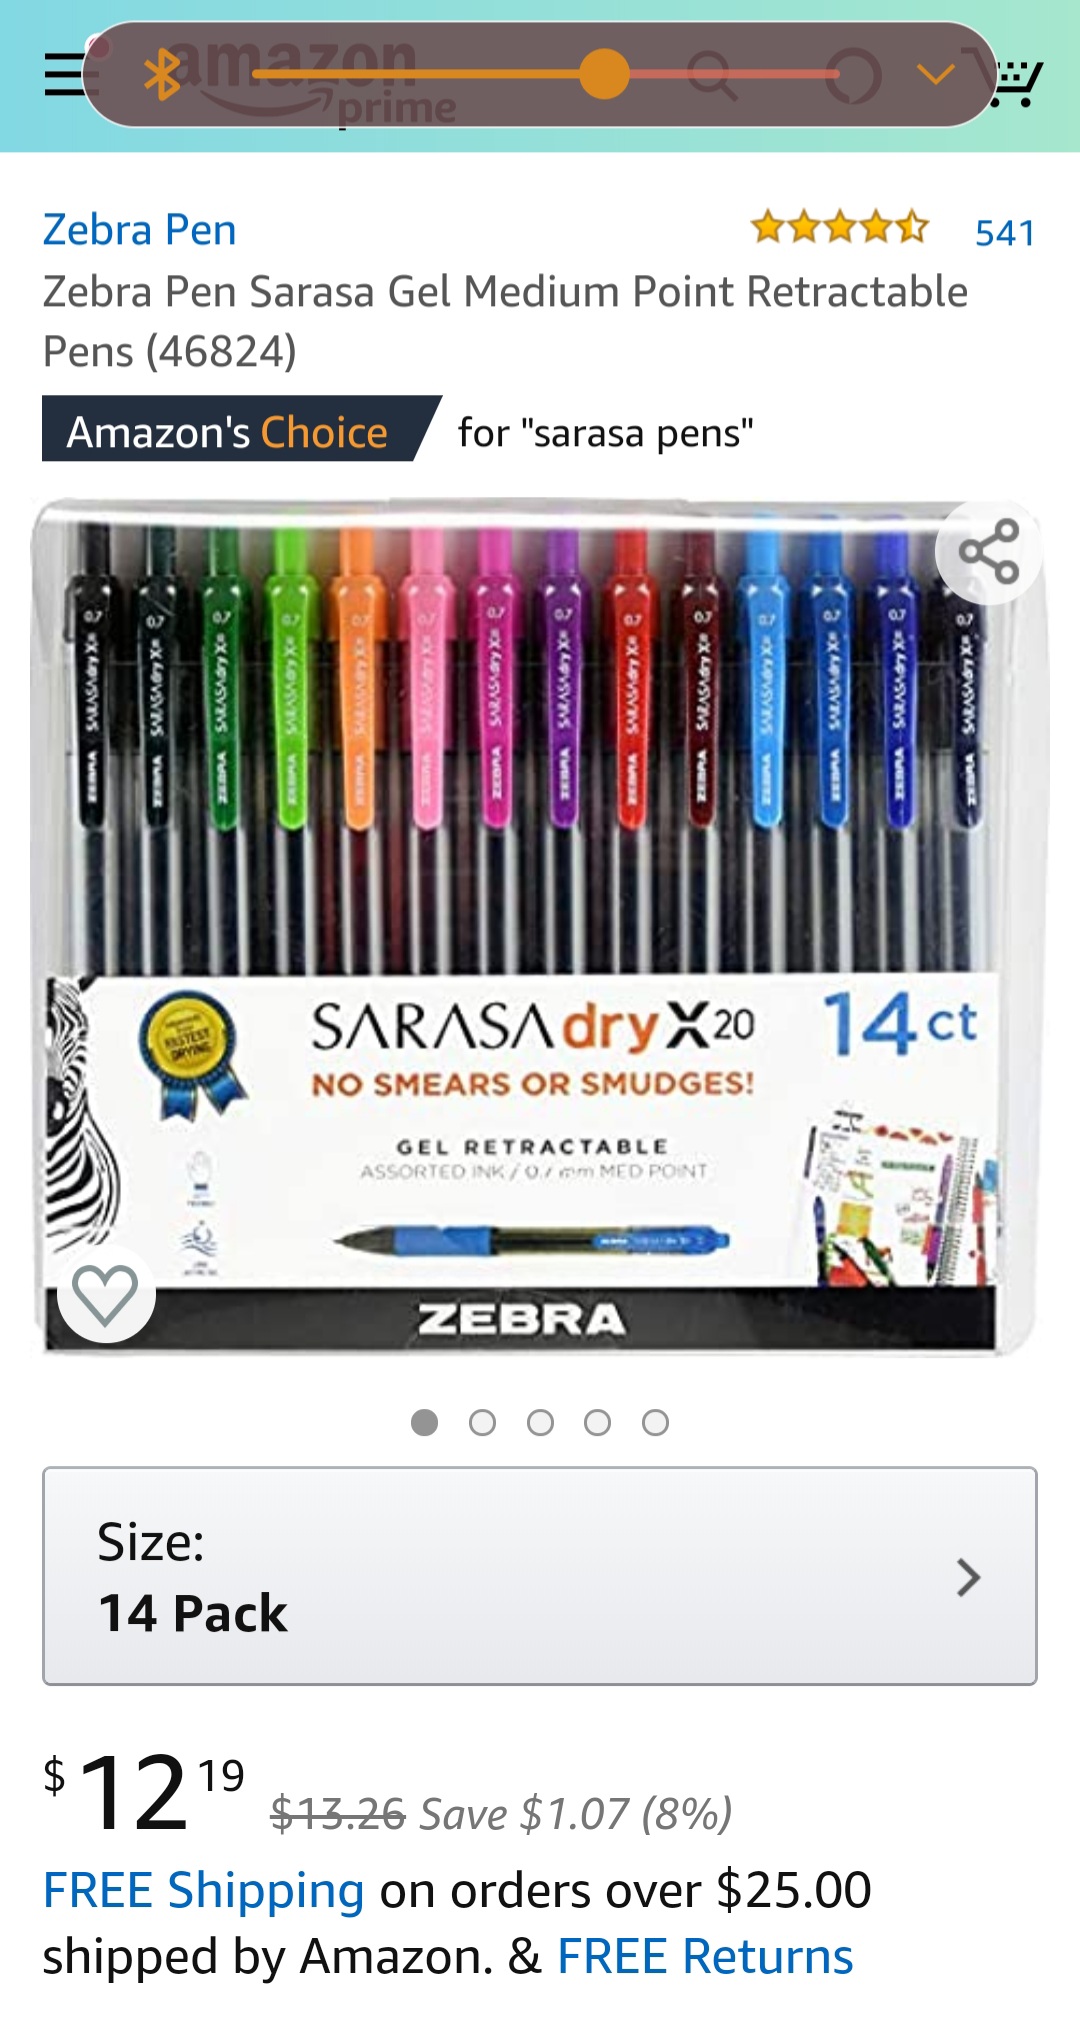
My favorite pens to use, not just on this paper but in general are the Zebra Pen Sarasa Gel Medium pens in 0.7. They come in a ton of colors, they don’t smear or smudge, and they dry super quickly!
I also have, and really like the PILOT G2 Premium gel pens in 0.7 also, they come in metallics, and I think it looks really cool.
- Highlighters.
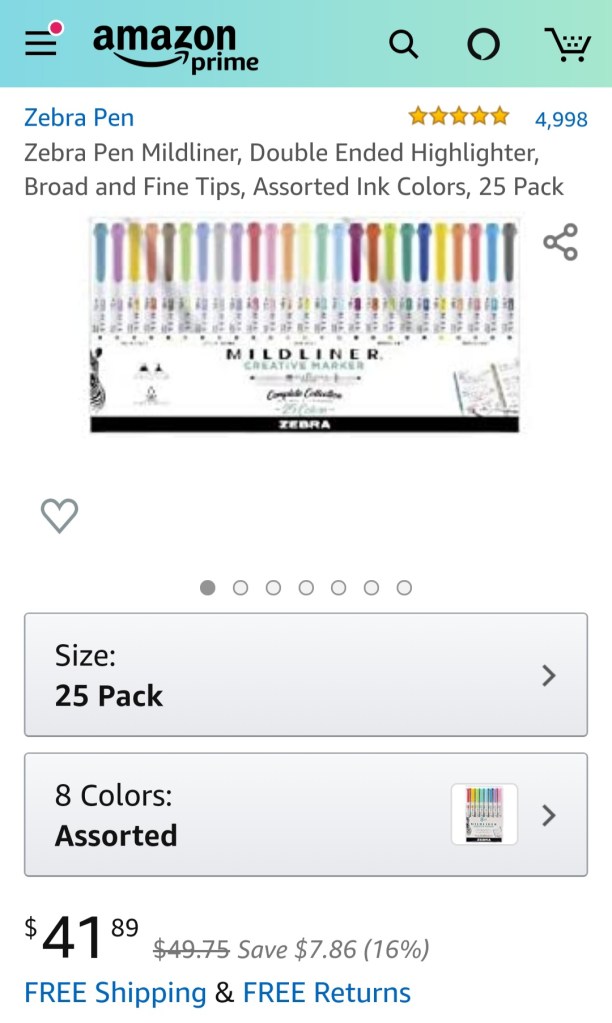
As a self-proclaimed pen and marker hoarder, I’ve used just about everything out there. However, my absolute favorites are the Zebra Pen Mildliner, Double Ended Highlighters.
- Some other basics that I have on hand are some large lined Post-It notes in a cute periwinkle blue color, and some regular sized, light green Post-It notes. I also have some extra- large notecards that I found with Angel on another one of our GoodWill adventures, and some paperclips!
- I think I may also want to get some small binder clips, and maybe some washi tape in the near future. I do already have some but, there’s nothing wrong with getting more, right? Right.
Just a quick note: Depending on the kind of notebook you’re choosing, you may need some extra supplies like tabs, folders, or dividers.
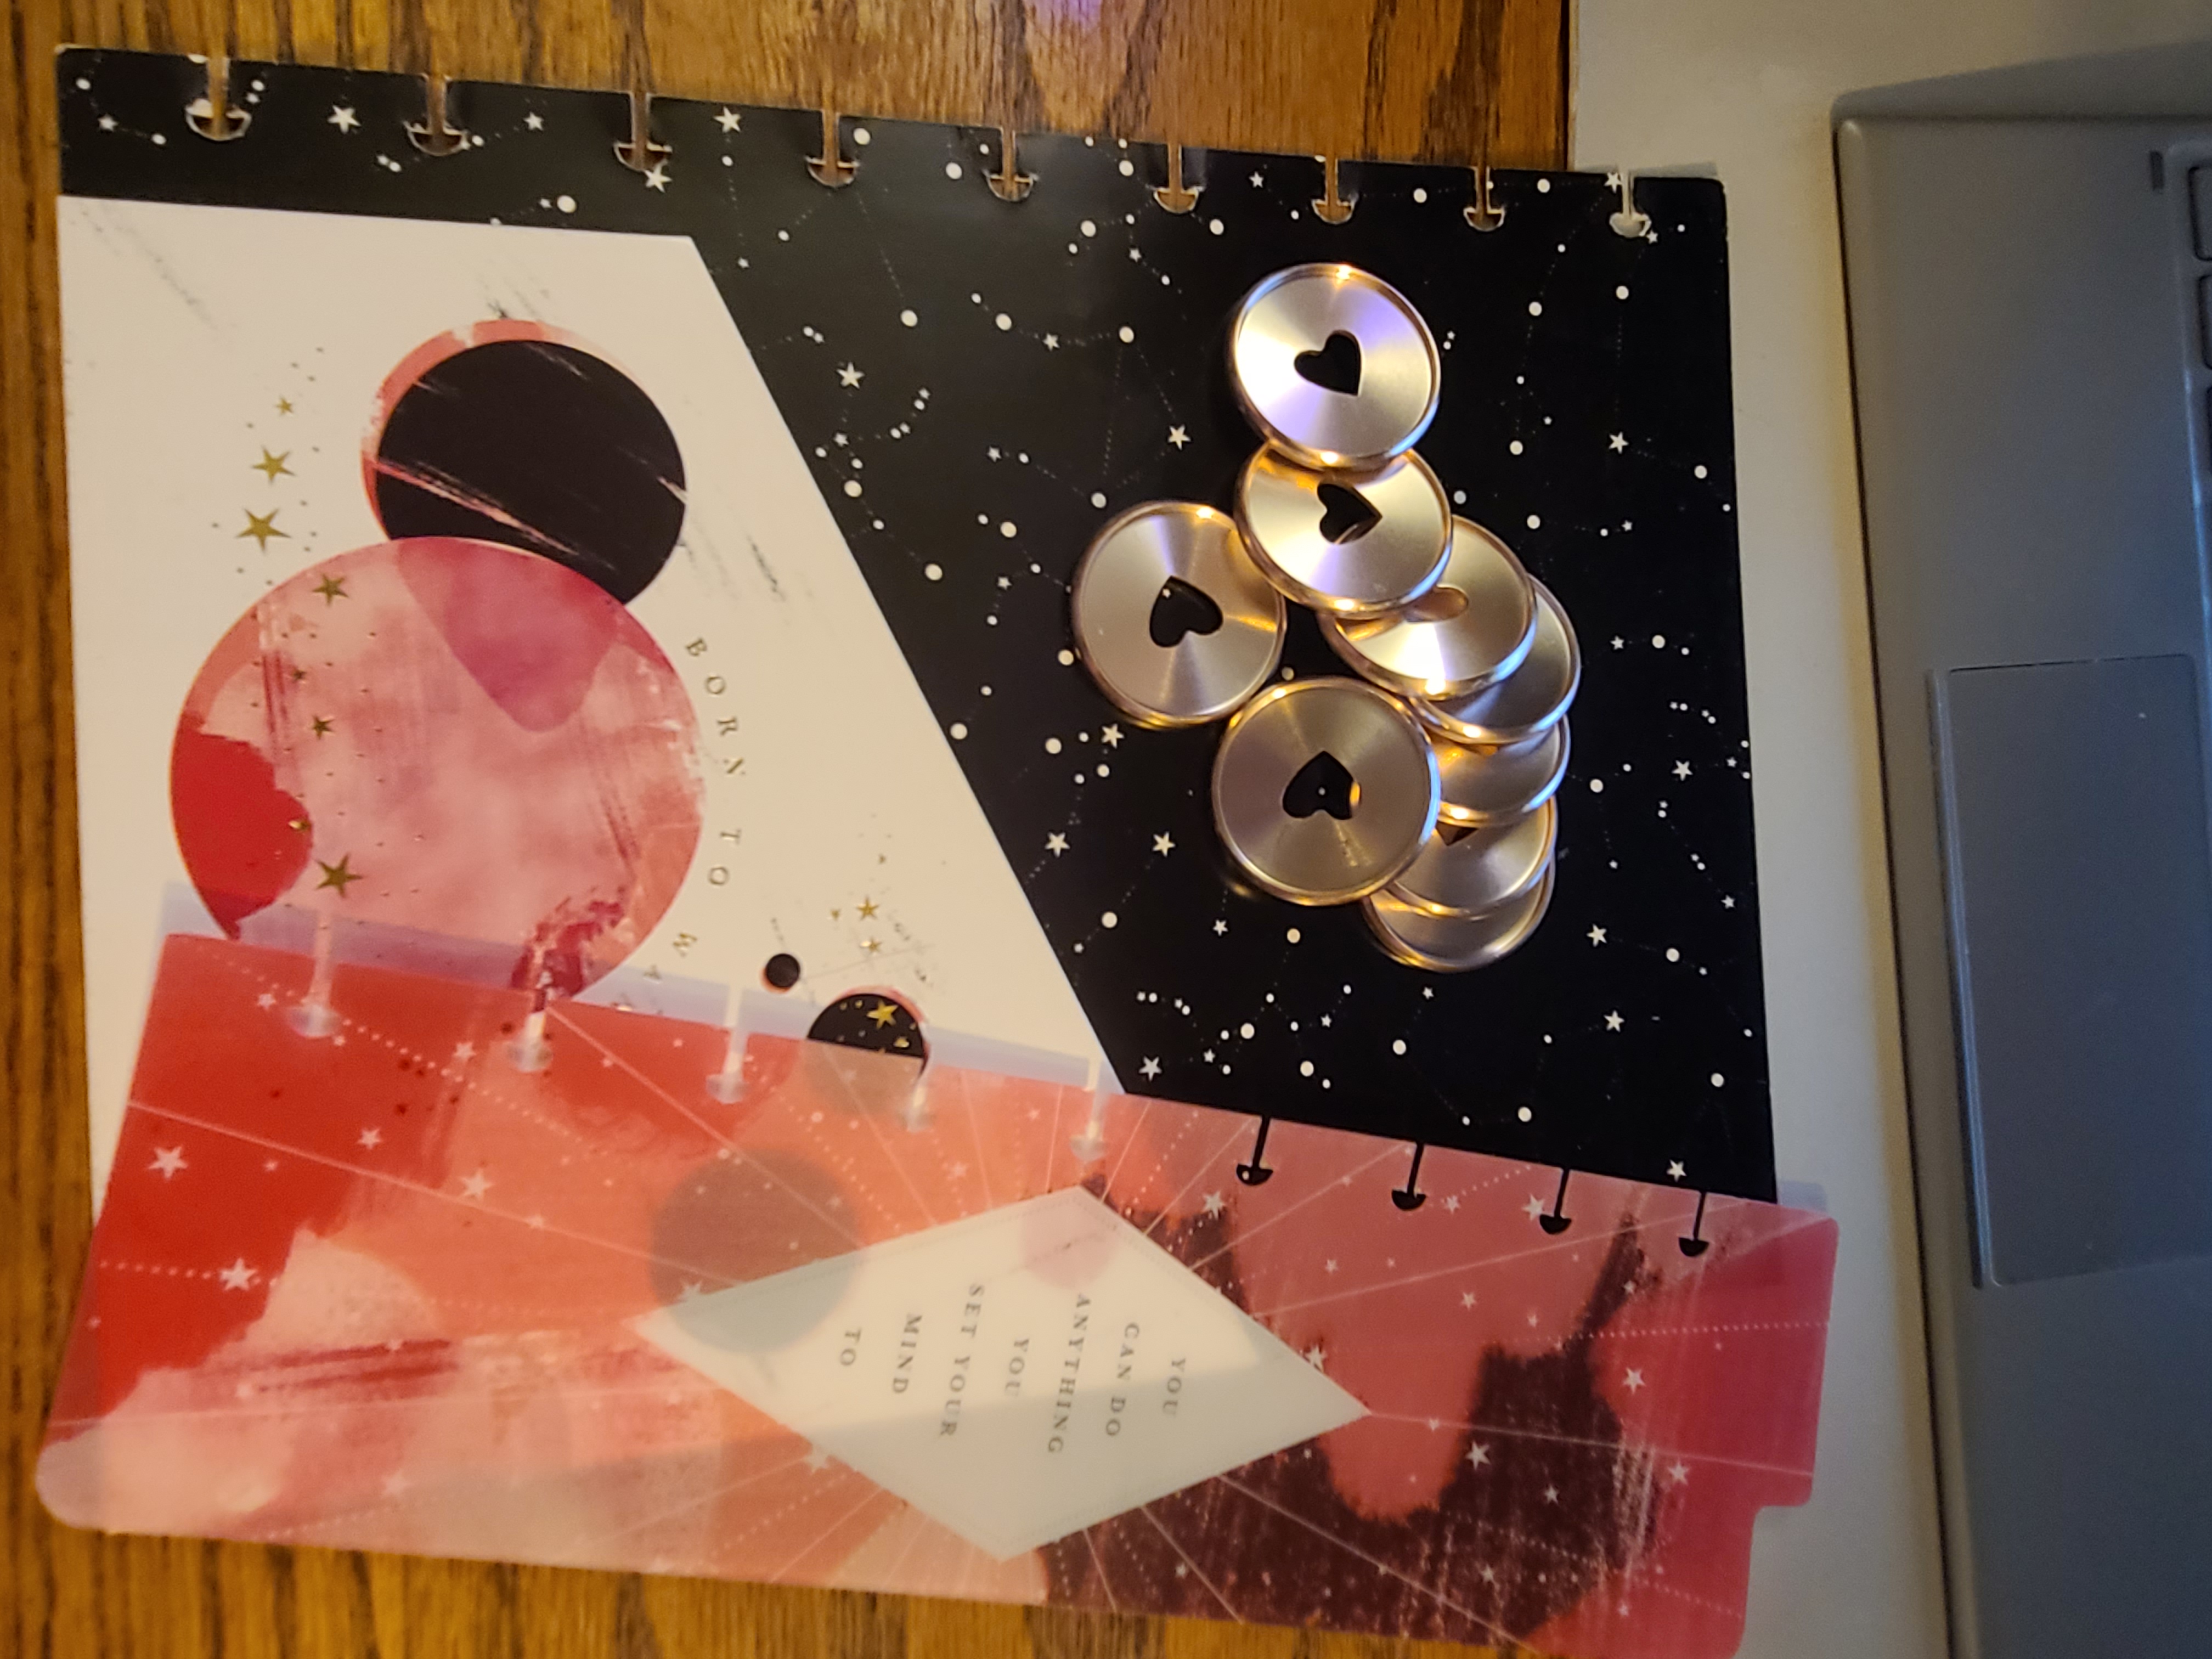
Since I’ve chosen to go with a disc bound notetaking system, my setup process was a little bit easier than what I would probably call average. Once I chose the discs, the cover, and the paper that I wanted to use, it was as simple as clicking all of the pieces together.
Now, since I’m also keeping the next 3-months’ worth of my calendar in my notebook, I already have a pretty good idea on how I want to set this whole thing up. But, for the sake of this post, let’s go through it.
Once I had my cover and discs in place, the first thing I did was clip in my little Happy Planner sticky notes, and the folder pocket. Just in case I make any notes on a non-compatible type of paper, print something out, etc.
Then, of course, came the next three months of planner pages I have. What I like about these is that Happy Planner has both a week and month view, and I’ve included both. Sometimes when I’m feeling crafty I use stickers from that same brand to decorate my weekly spreads. I also tend to use my planner as more of a memory keeper than anything else, which means if I make a new recipe with Angel, or anyone else, I’ve got it written down to look back on.
Including breaking my foot.
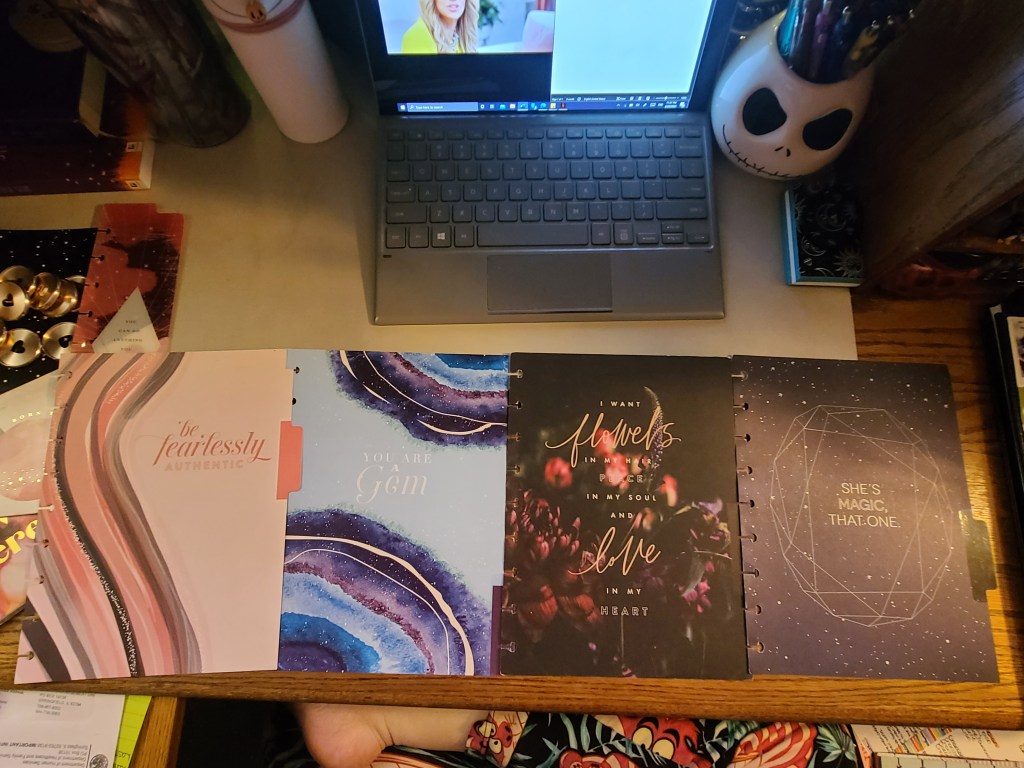
This then brings me to my first, and probably one of my favorite divider tabs. It has the quote “I want flowers in my hair, peace in my soul and love in my heart” on it, alongside some beautiful flowers which ironically sections off a space for me to work on one of my WIP’s (works in progress for the non-writers out there reading this) called Bloom.
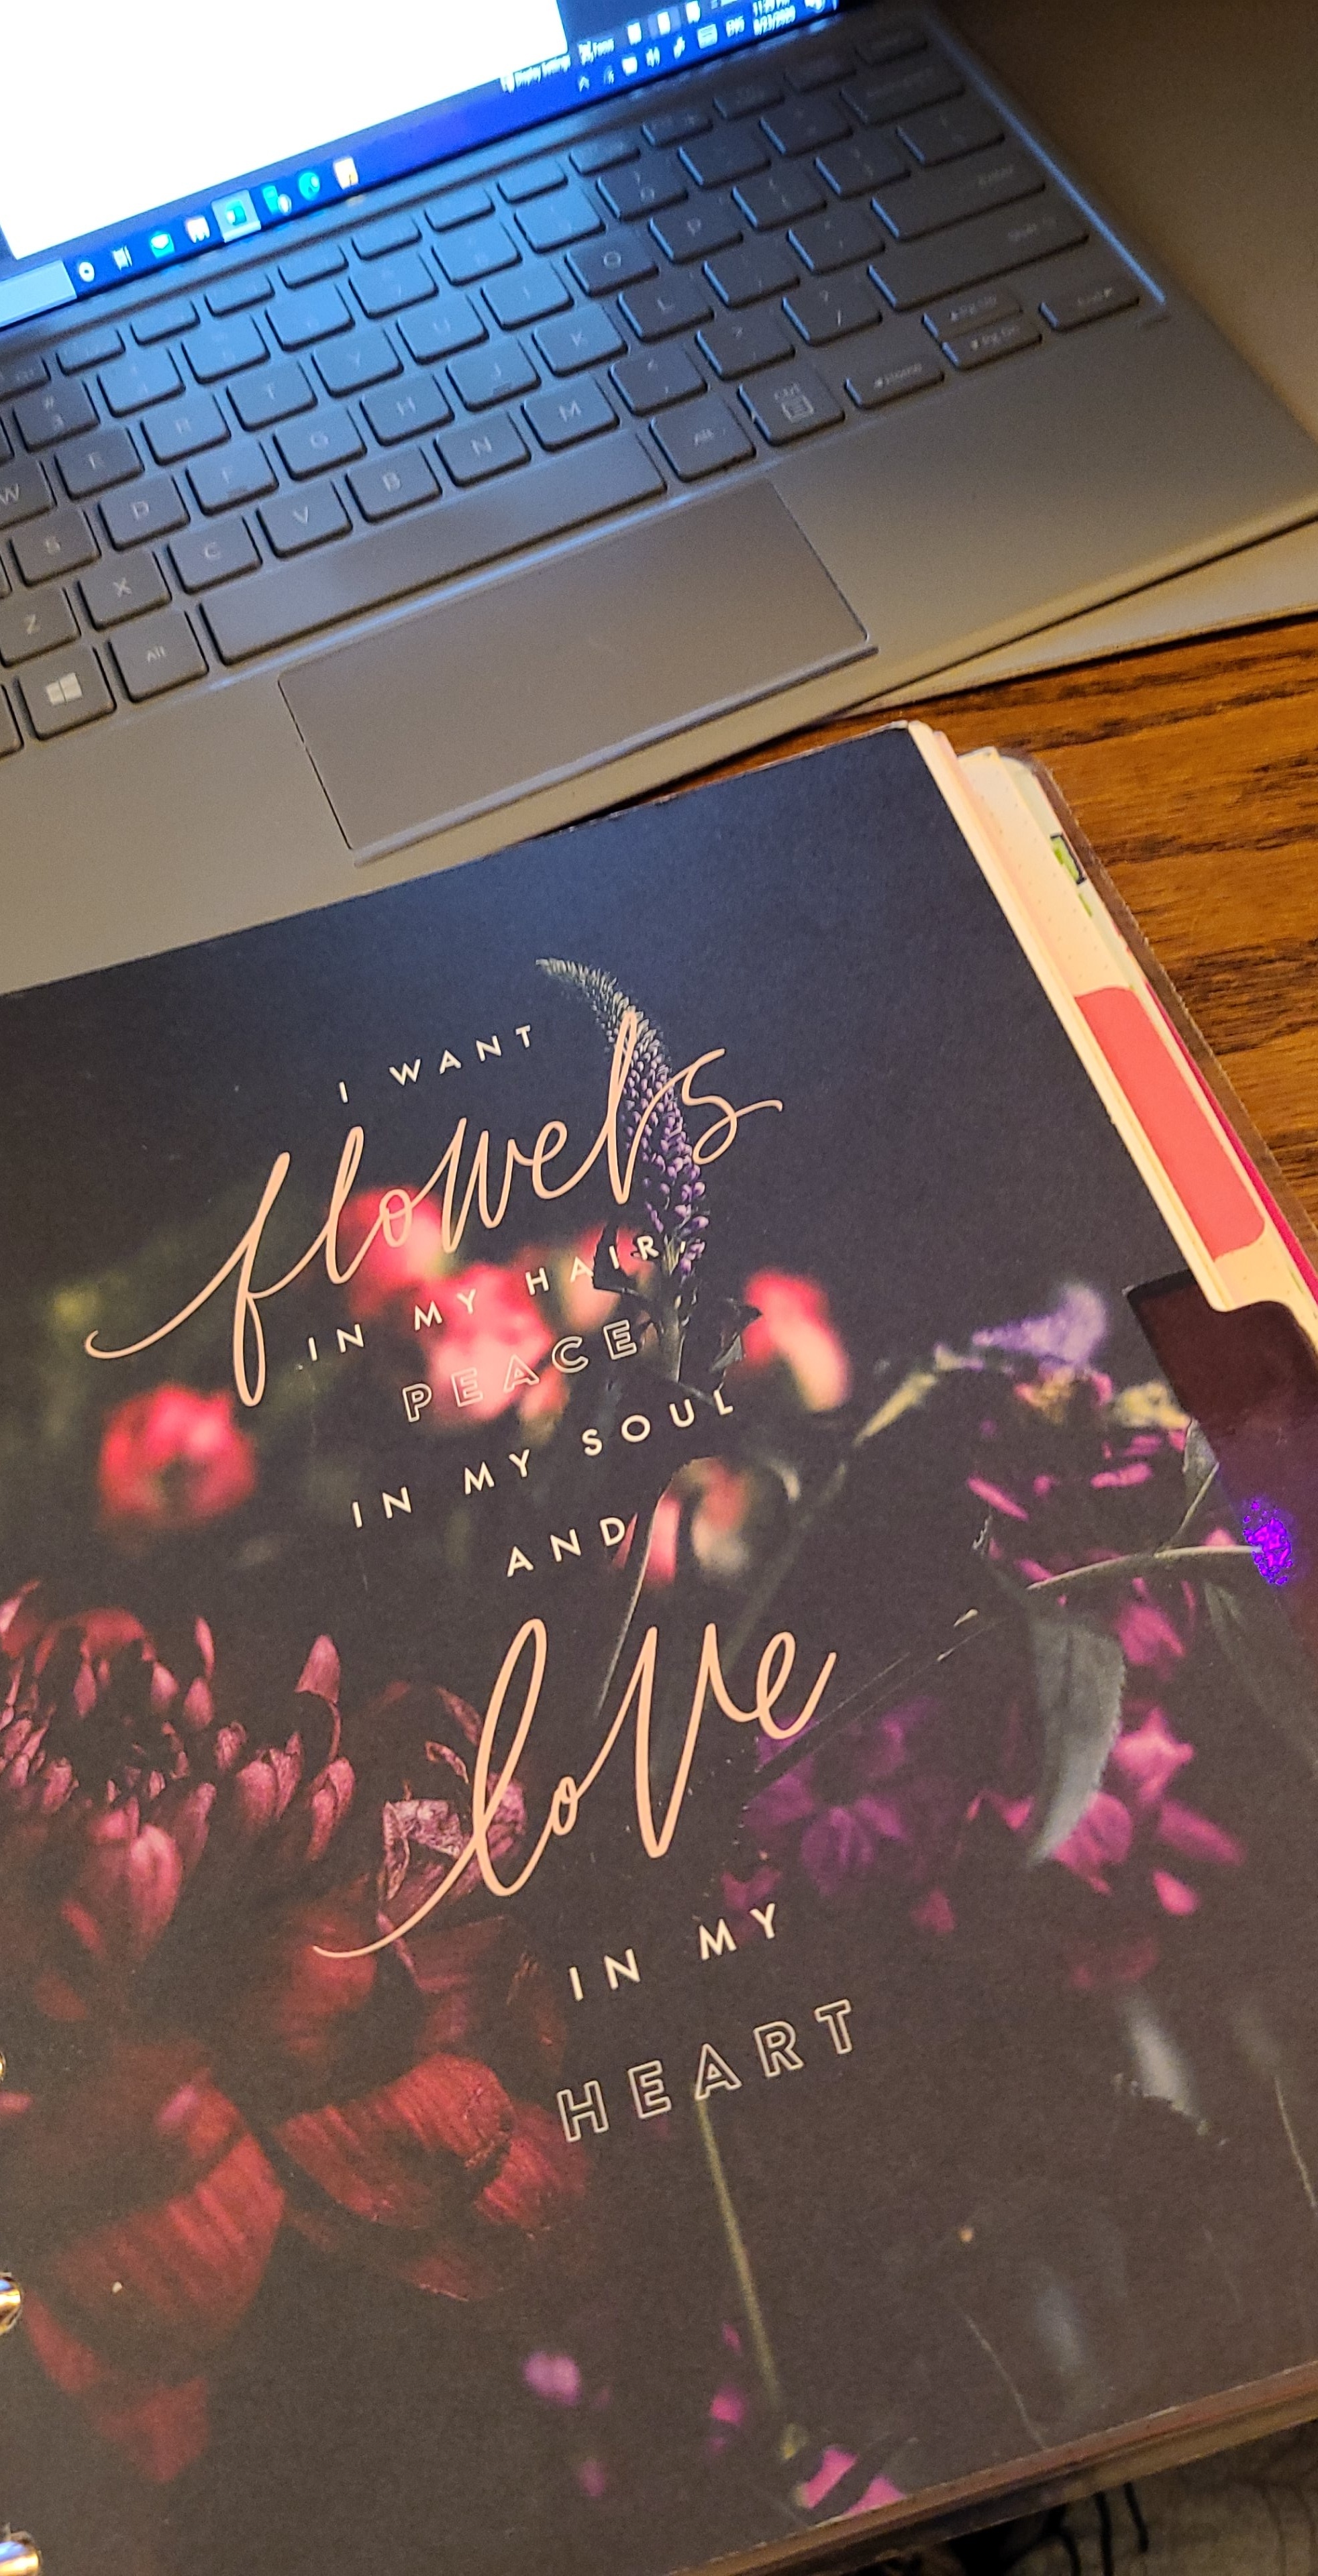
In here I have some organizational tools, and some bright yellow paper with notes laid out for how I want to organize the poetry in the collection itself.
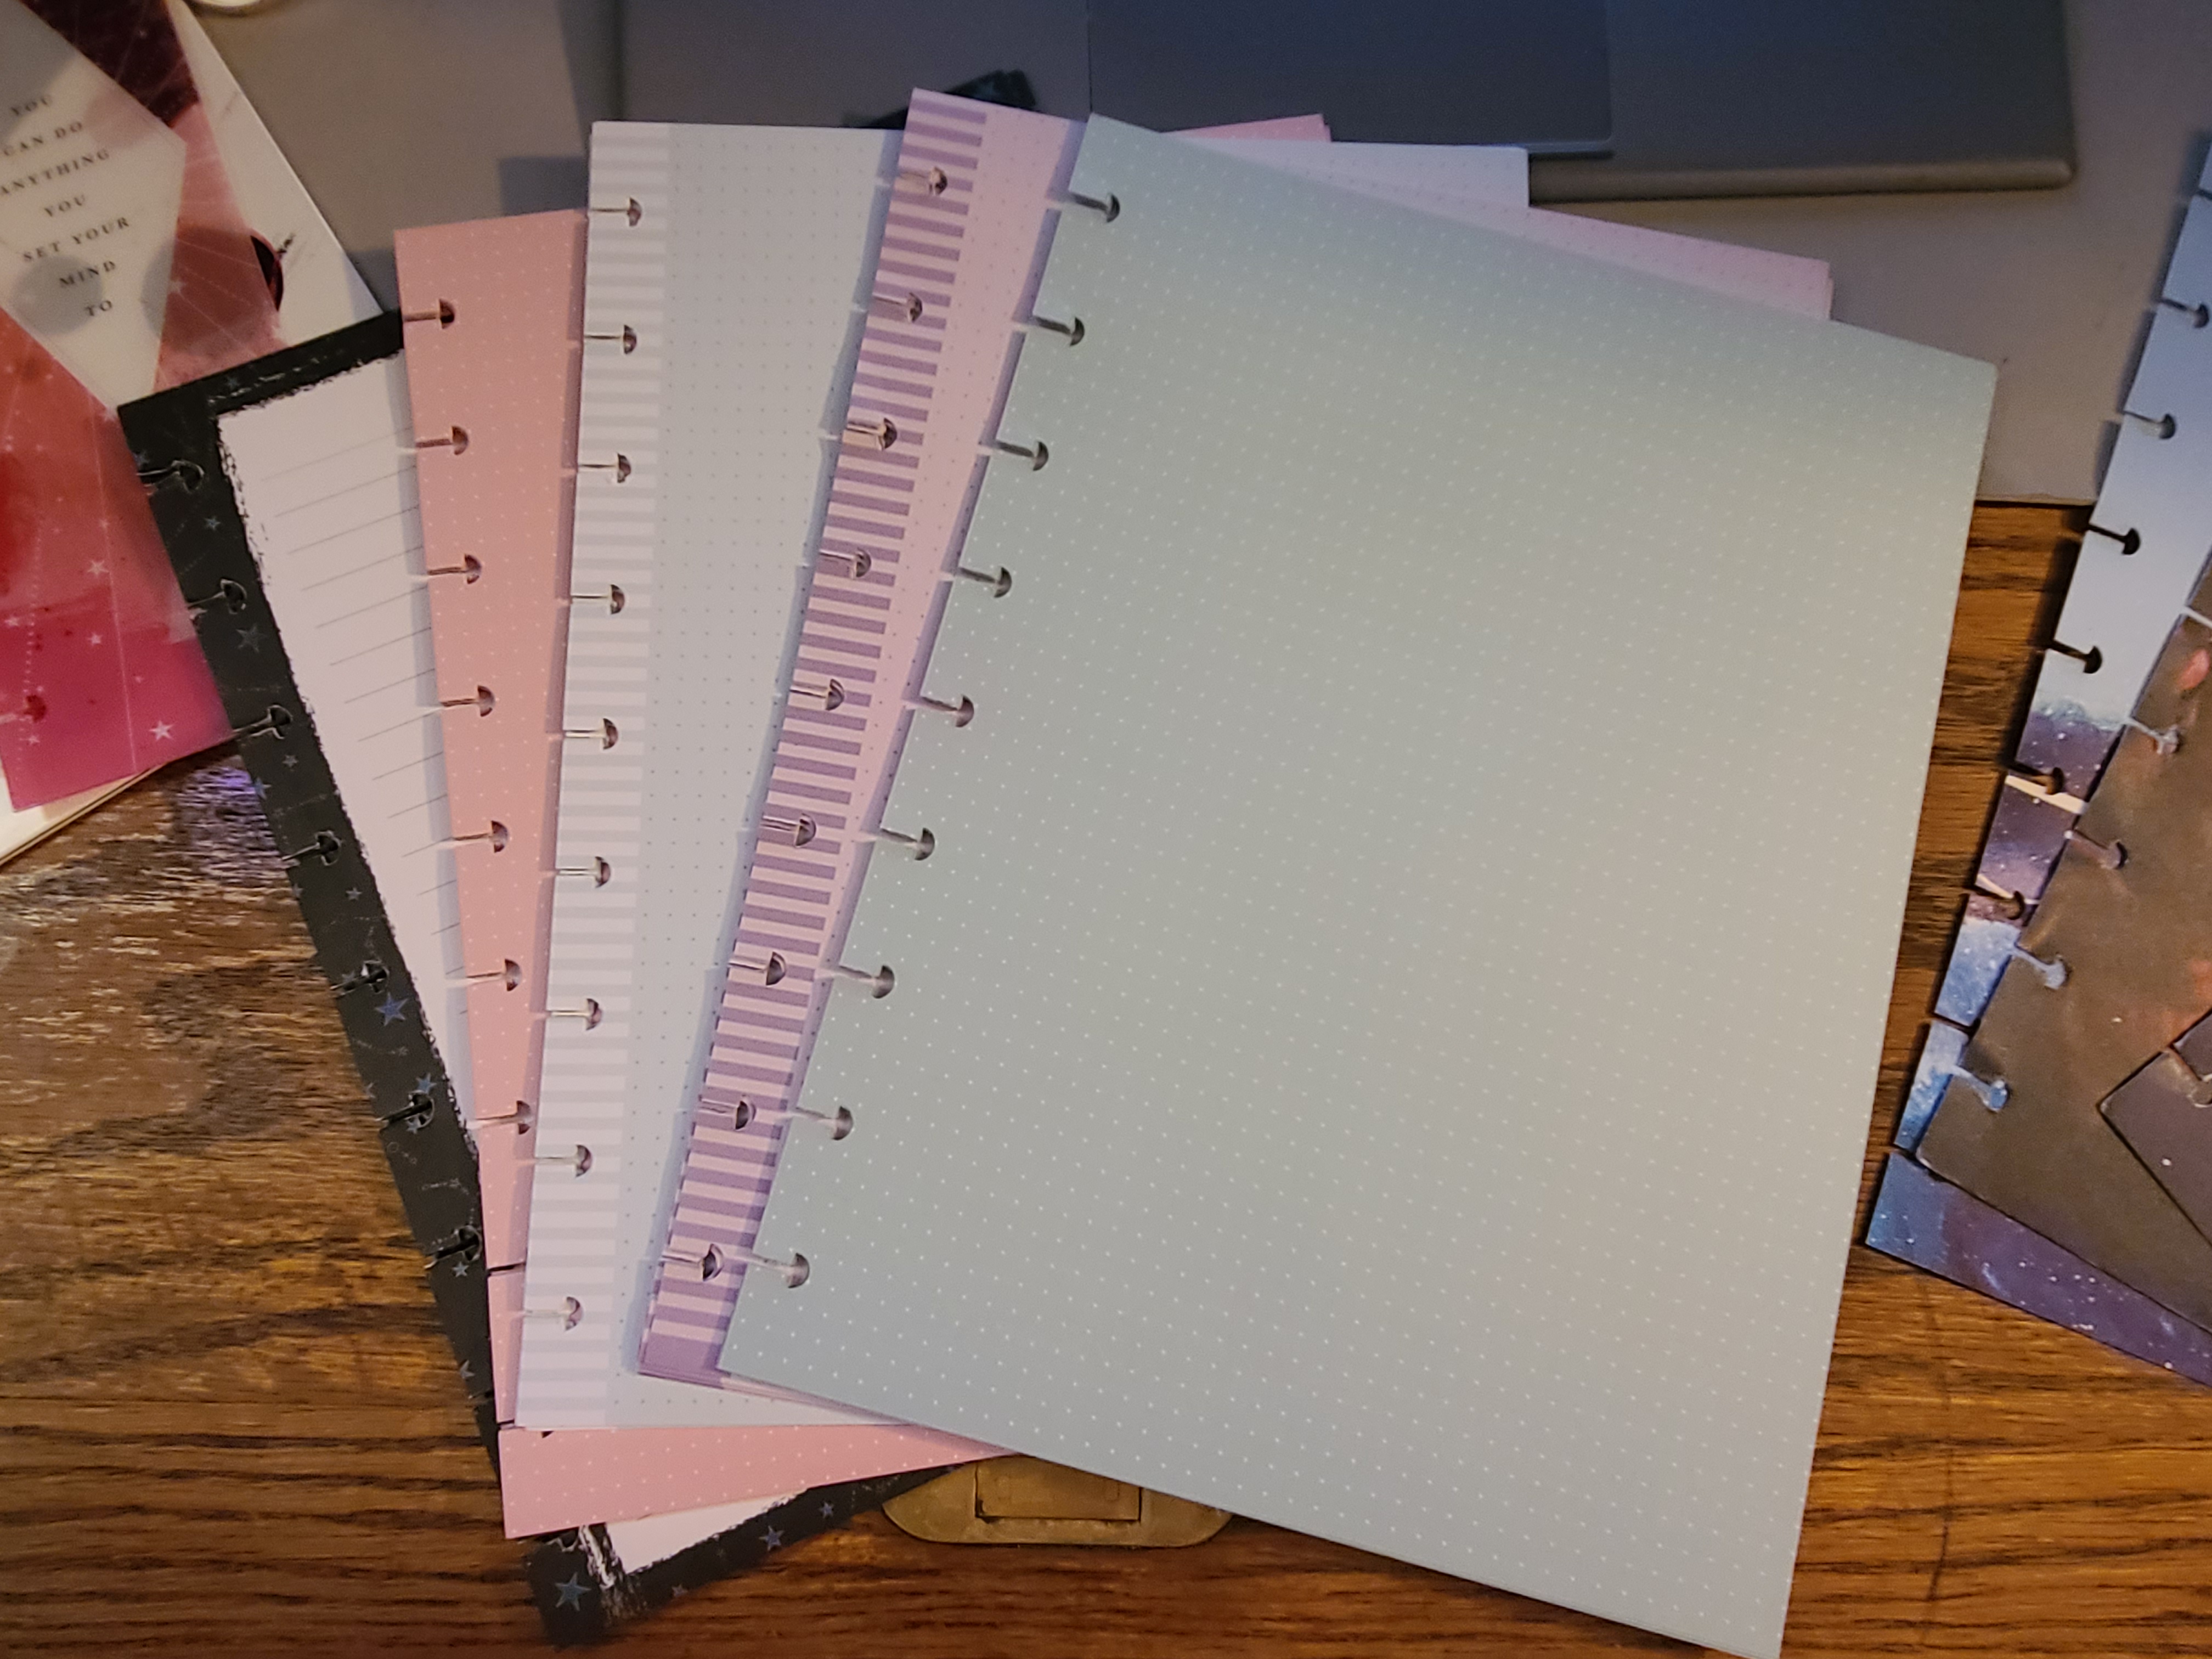
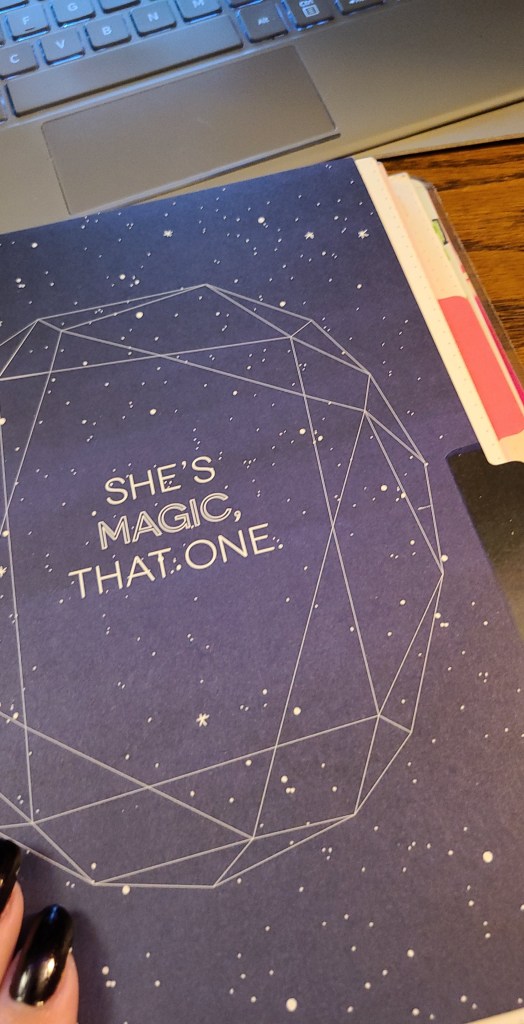
After that, I decided on another divider, this time a simple one that says, “she’s magic, that one.” Nothing too fun is behind that one yet, just some plain, dotted paper- I prefer to write on dotted paper over lined. Just one of my weird little quirks, I guess.
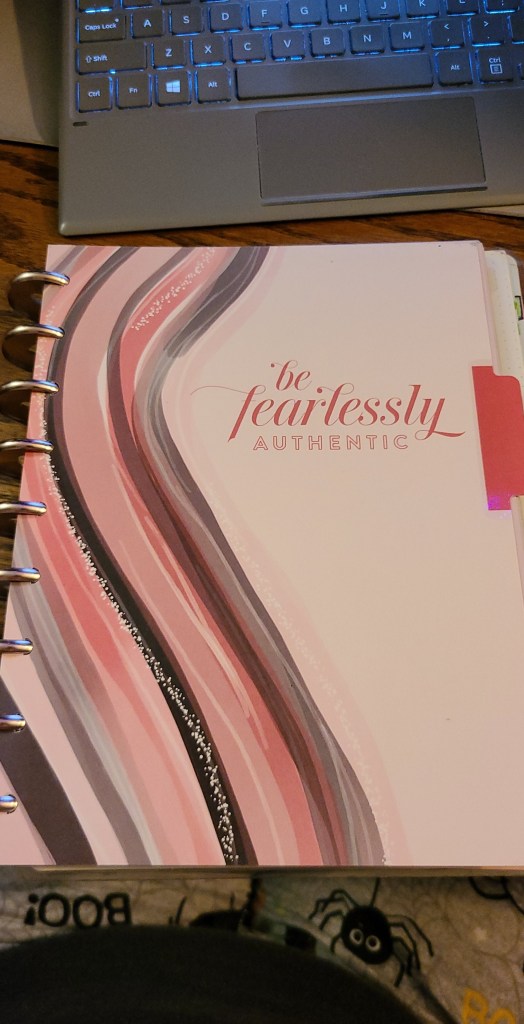
Yet another divider after this that says “Be fearlessly authentic” but this one, might just be one of my favorites… if only because that’s where I’ve hidden my colorful paper! First, I have purple, then blue, green, and finally pink.
I hate to say it but, my final divider comes after the colored paper, and it too is one of my absolute favorites. Not for the quote “you are a gem” but, for the fact that it’s the tab that I have my all-time favorite paper hiding behind. The galaxy papers.
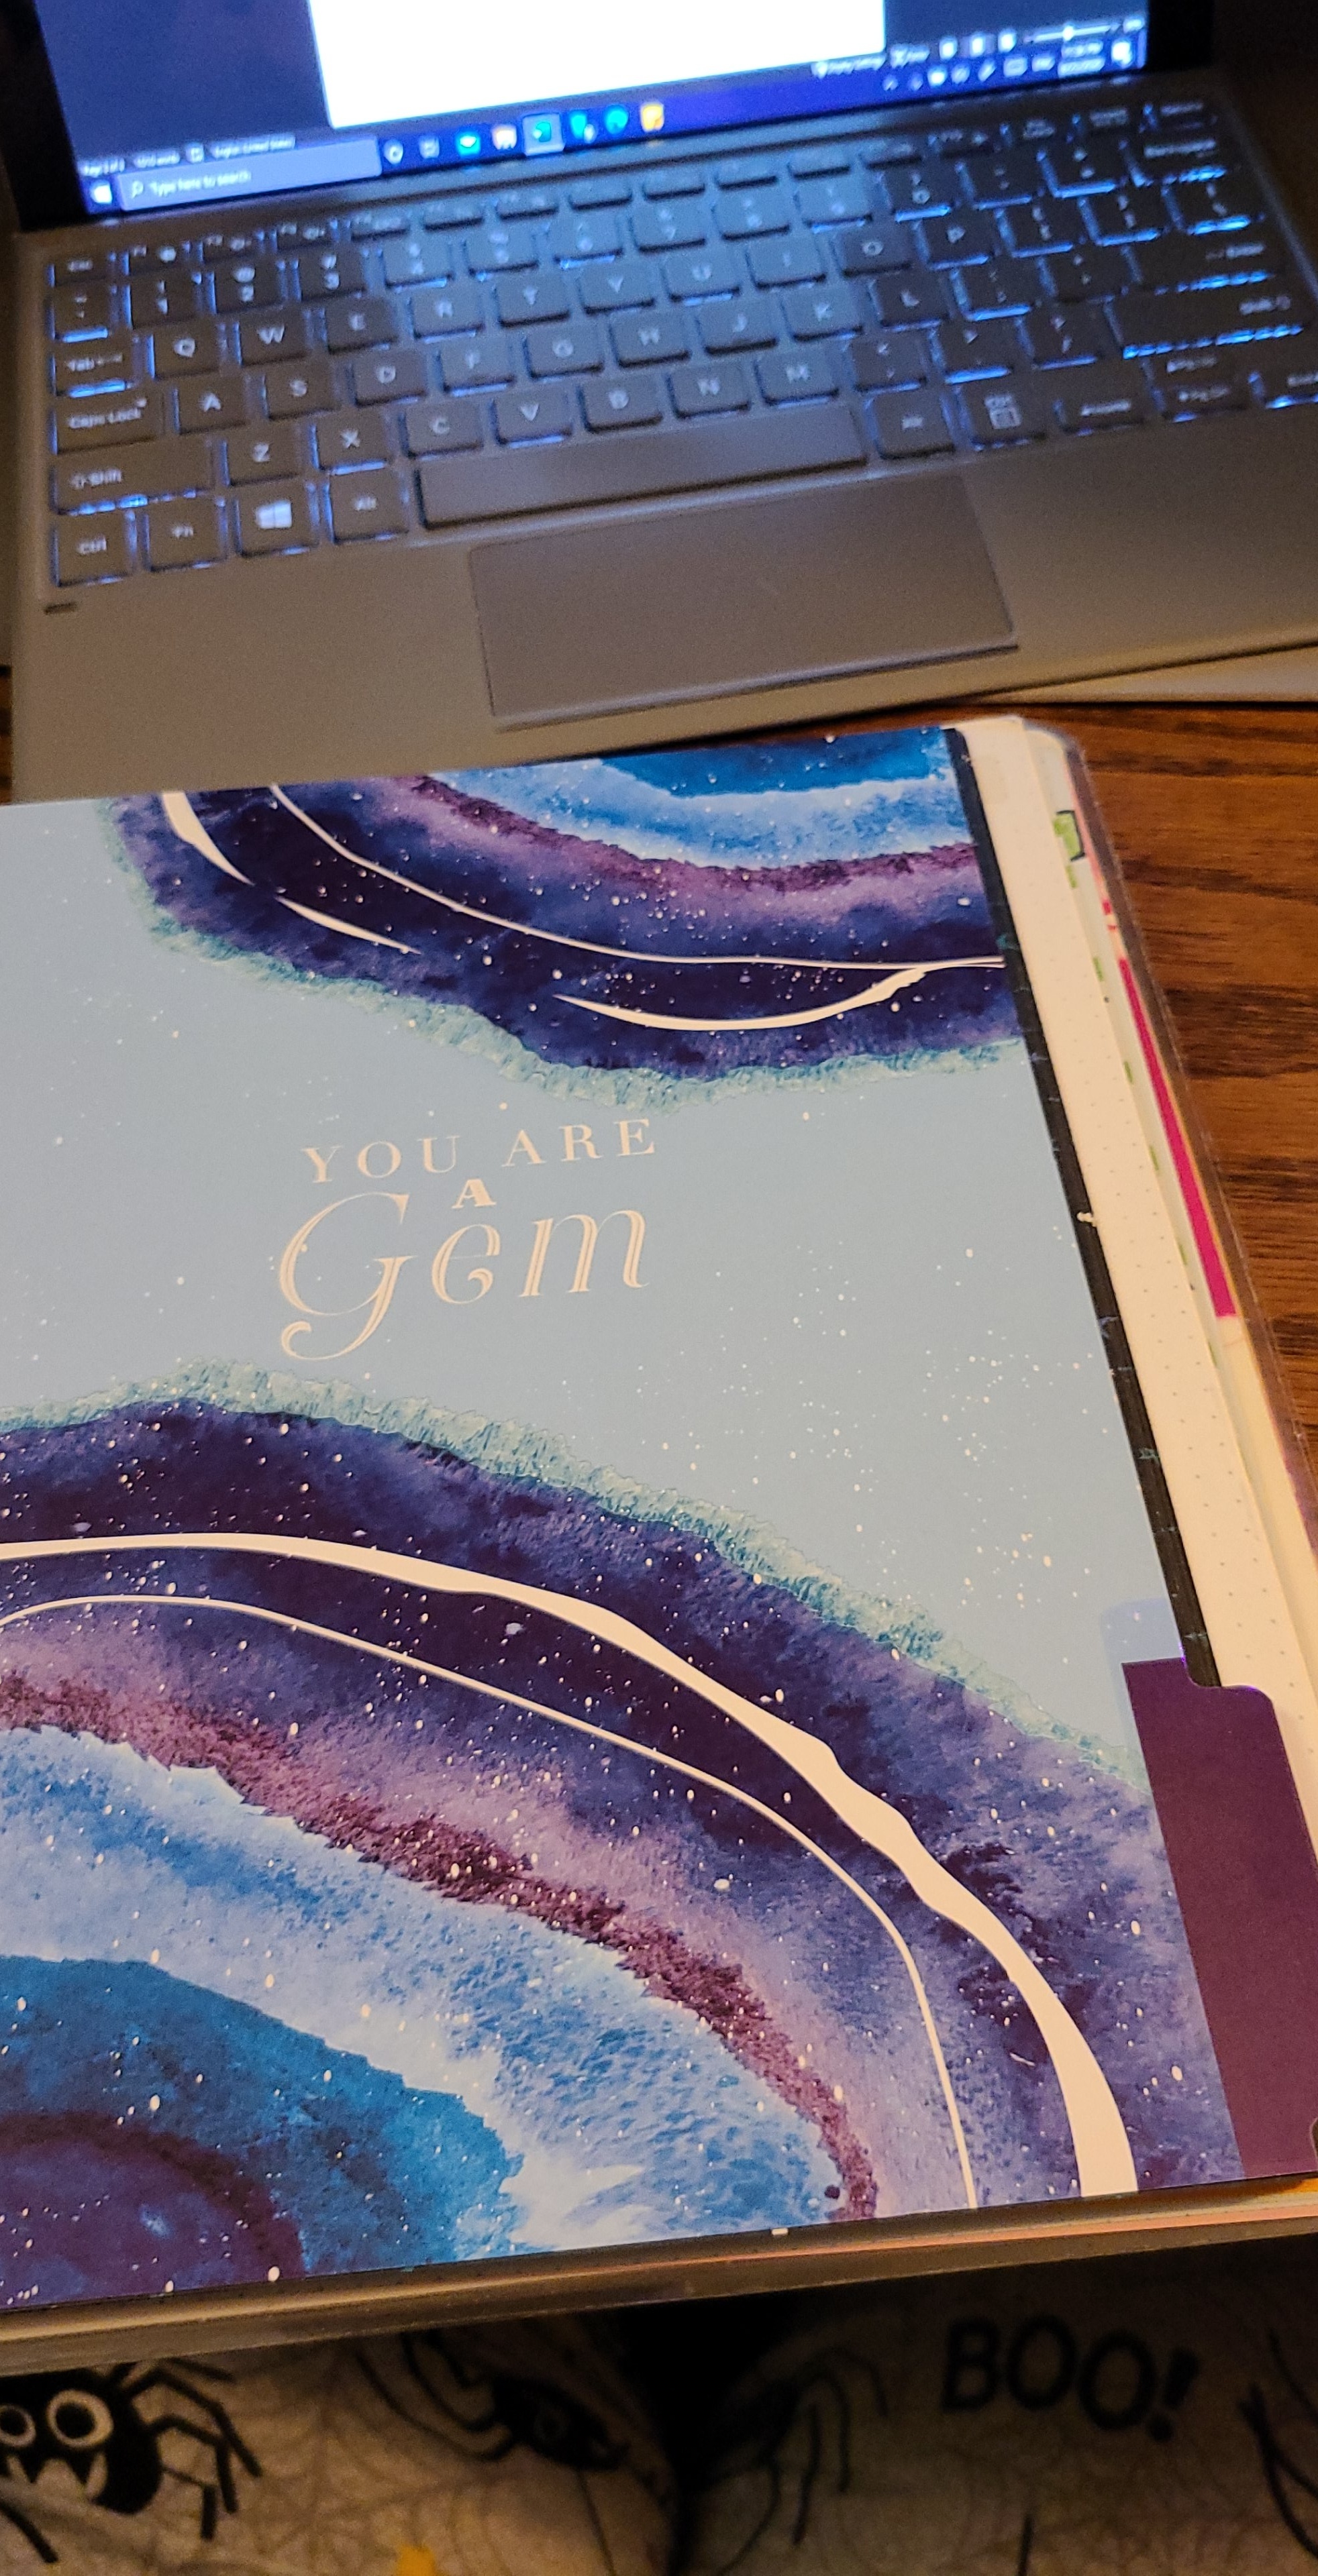
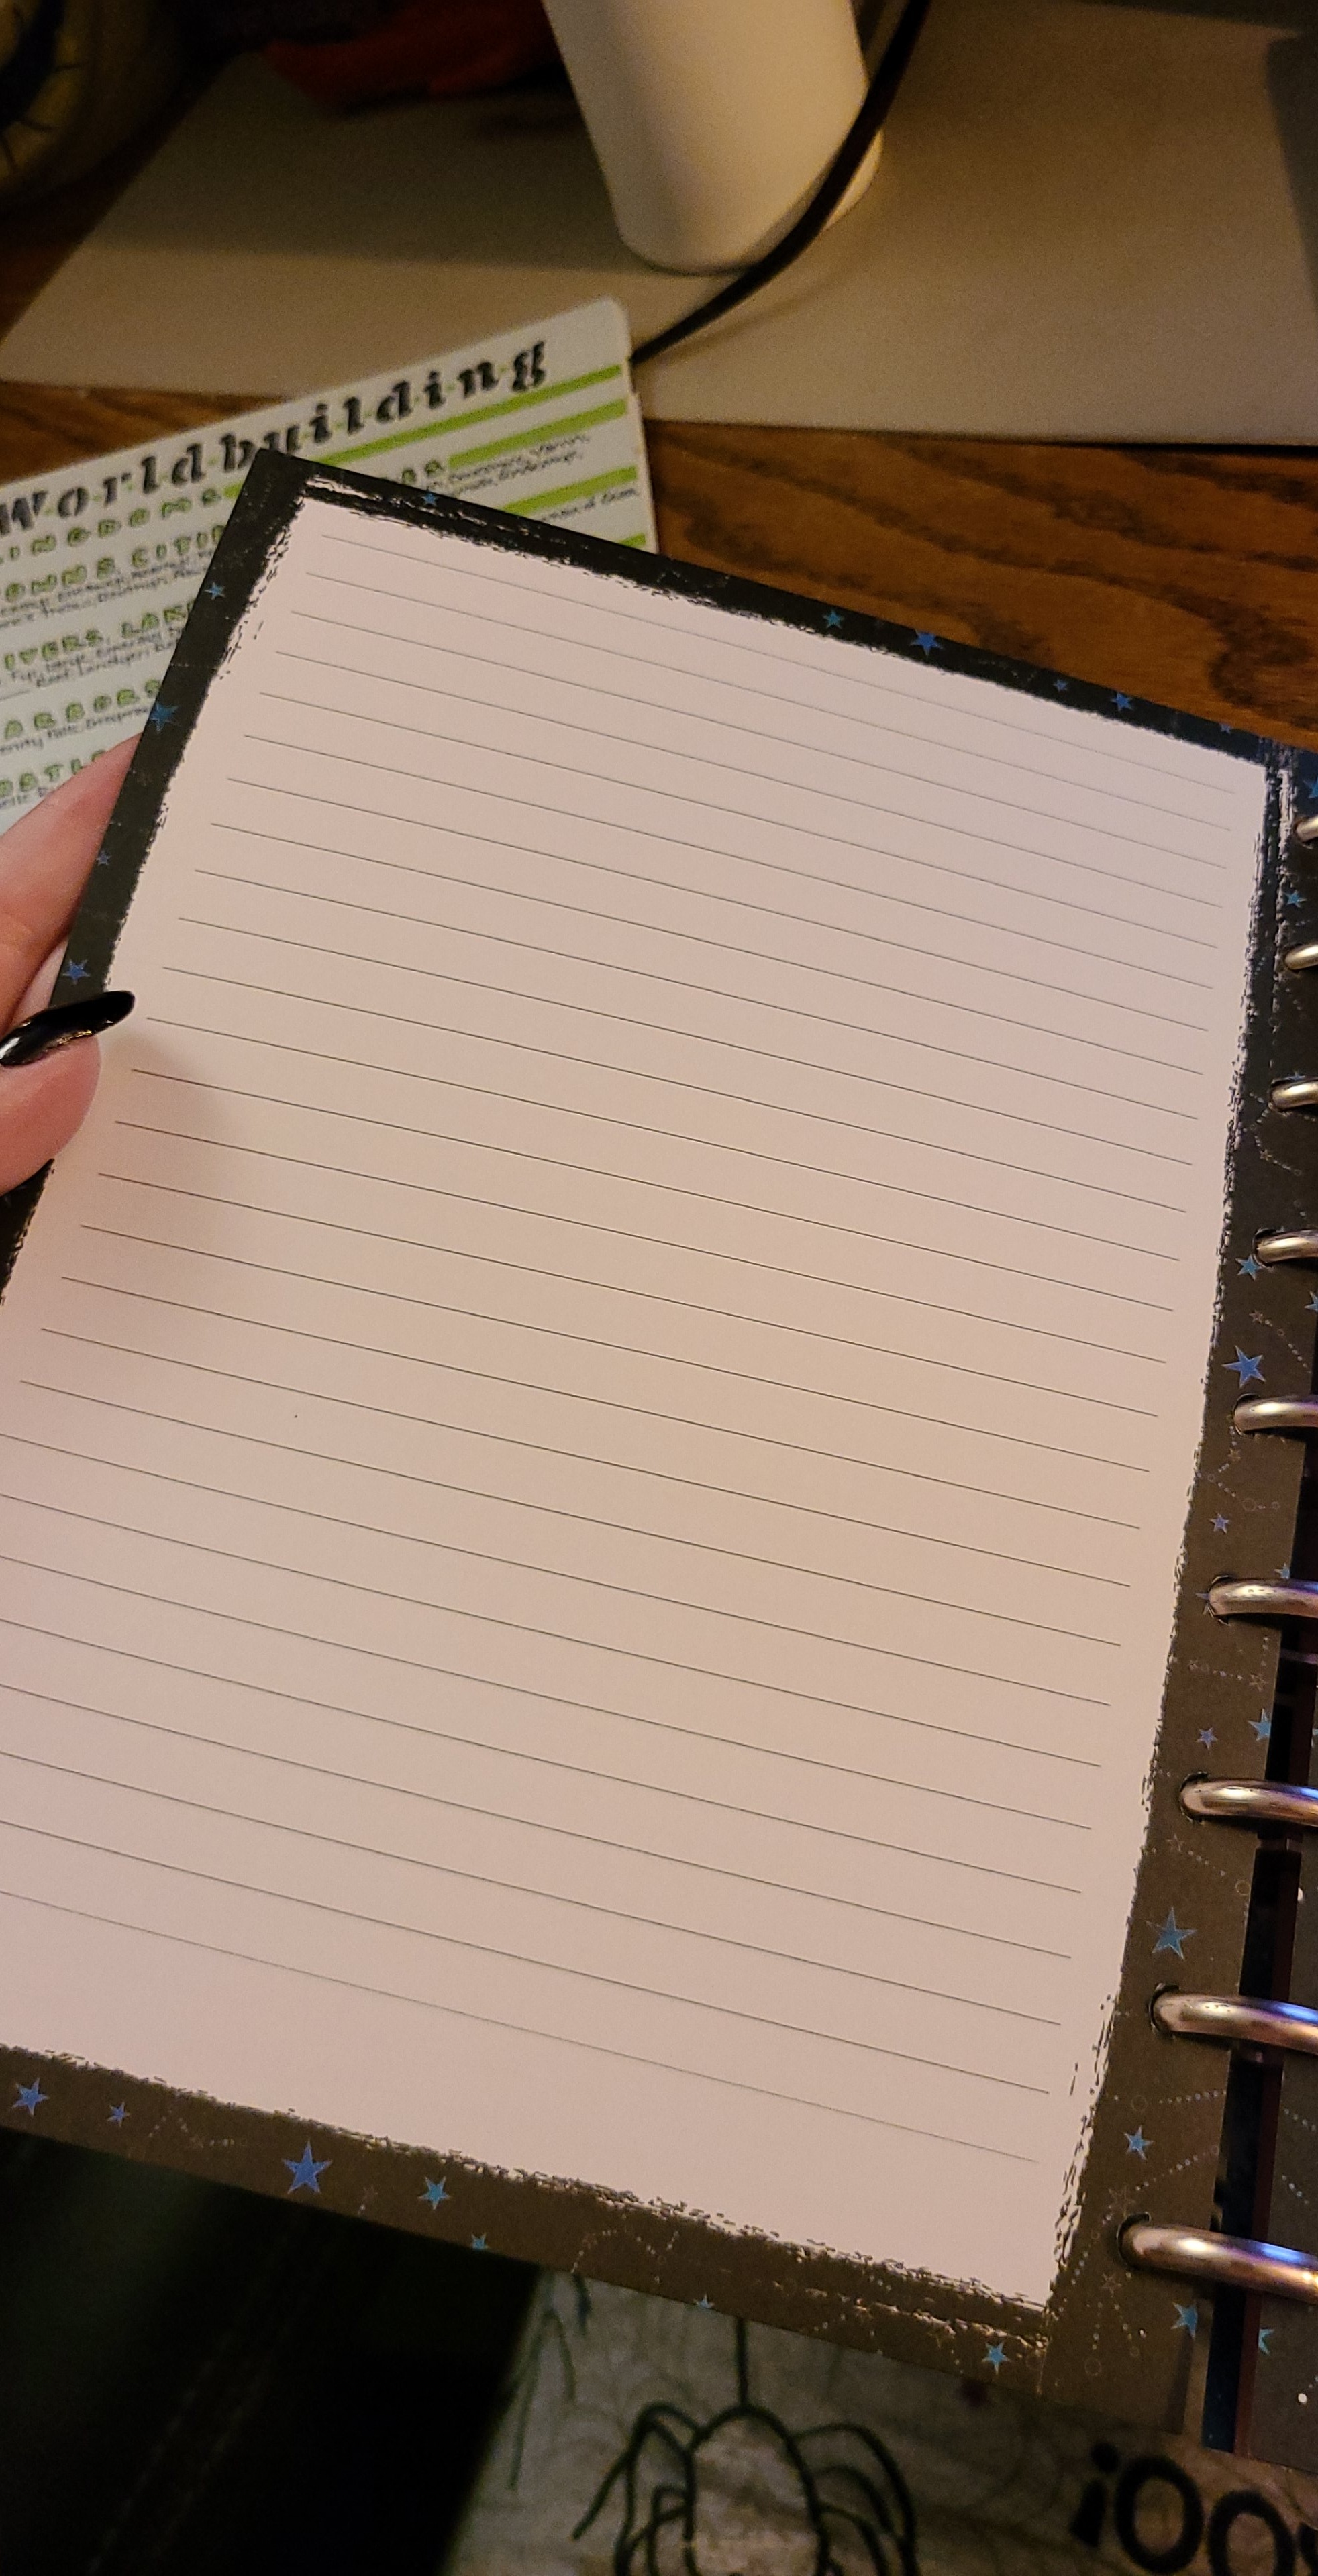
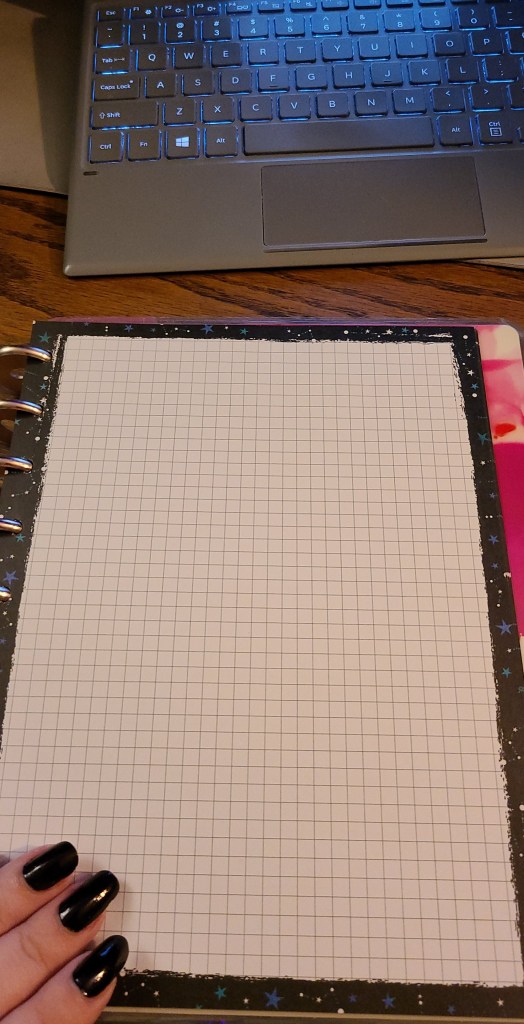
One side of these awesome papers are square grids, while the other side is lined! How cool is that? Which means, if I want to do a family tree on one side for one of my characters, and a short bio on the other side, I can do so with no problem at all, whatsoever.
And seeing that a disc-bound notebook allows me to add paper, remove paper, or change things up however I please, the possibilities are absolutely endless. Now, it’d be easy to tell you that I was done, and maybe I am. I don’t really know yet.
What I know now is that I have a basic set up that may or may not work for me. Tha isn’t to say that in a couple of days I won’t decide to add another divider and make a section for characters, or one for worldbuilding. Hey, I might even do a separate section for each world I make- or each story, which is the plan I have in my head so far. All this is right now is a blank canvas. One that I will hopefully be able to use to cultivate and grow my art with.
I still haven’t added in or made pages for a lot of the things I want to add to the notebook itself like, character names, or other silly things that I think a fantasy author “needs” but, who knows? A couple more days of downtime and I might have a full-fledged storyboard going. I could have all of my characters planned out, an outline done, and the book written by the end of NaNoWriMo in November.
You never know with these things.
Writing is never the same for two people.
For me, its explosive emotions squished down, and forced into the cage that is a word document. Better than rattling around in the cage that is my ribs, tearing my heart to shreds, right?
For you, it could be something else entirely.
Stay healthy & Stay Safe.
-Sky


Leave a comment